 Your system configuration
Your Kronos management interface allows administrators of your Ticketack instance to define numerous parameters.
To do this, simply click on the cogwheel at the top right of the interface. Here you can change many of the parameters of your Ticketack instance (available languages, payment methods, activation and deactivation of certain features, etc.)
The settings are grouped into several sections, as shown in the interface below.

Your information
This section allows you to enter your company’s information: name, phone number, address, VAT number, and business sector. Other settings can be defined, such as those related to your emails or VAT.
Images and logos
In this section, you can create a library of images or logos. For each image uploaded, you can assign a language (French, English, German) or a usage destination (PDF, email, etc.).
On-site sales
In this section, you can define all the parameters related to on-site sales on your ticketing platform: the information buyers need to provide (phone number, etc.), whether to display the add-on and preparation button, cancellation policy, capacity alert, etc.
Online sales
Similar to the on-site sales section, but with the ability to define parameters specific to online sales: settings related to customizing the e-shop URLs, user registration (points of sale assigned to registration, etc.), newsletter subscription, surveys, donations, etc.
Payment
First, there are the elements related to payment methods (cash, POS terminal, etc.), which you can customize with basic information (payment method name, etc.), as well as payment fees (minimum basket amount, etc.).
You can manage other specifics related to transfers, proxypay, electronic wallets, etc.
Delivery
You can add delivery methods and define their parameters. That is, the type of delivery, the amounts, and other details.
Mobile Application
Regarding the management of your mobile application, you have three options: create a production version (ready to use), a pre-production version, or a test version. This allows you, for example, to move a test version to the production version. You need to click on the three small bars next to the Test Version button to move your versions.
In one version, you can define the following elements:
Navigation: This is where you will define your navigation tabs, such as Home, Program, News, Favorites, and others.
Screens: You can configure the screen: Allow screen scrolling or not, etc. And finally, you can add widgets or additions, such as texts, shops, article grids, image carousels, etc. To do this, click on Add a widget.
Features: This is where you can enable or disable certain settings: Disable user accounts, voting, favorites, and others.
Theme: This refers to the visual aspects of your application.
Configuration: In this tab, you have several possibilities, such as defining the Kronos URL, setting API keys, etc.
Once you have finished configuring your application settings, you can click on Test the application to preview it.
Localization
The Localization section allows you to define parameters such as the currencies used (CHF, EUR, USD, etc.) or the languages used.
Integrations
Integrations are features that you can add to your ticketing system. You have in front of you a list of integrations, these are the ones that are already installed.
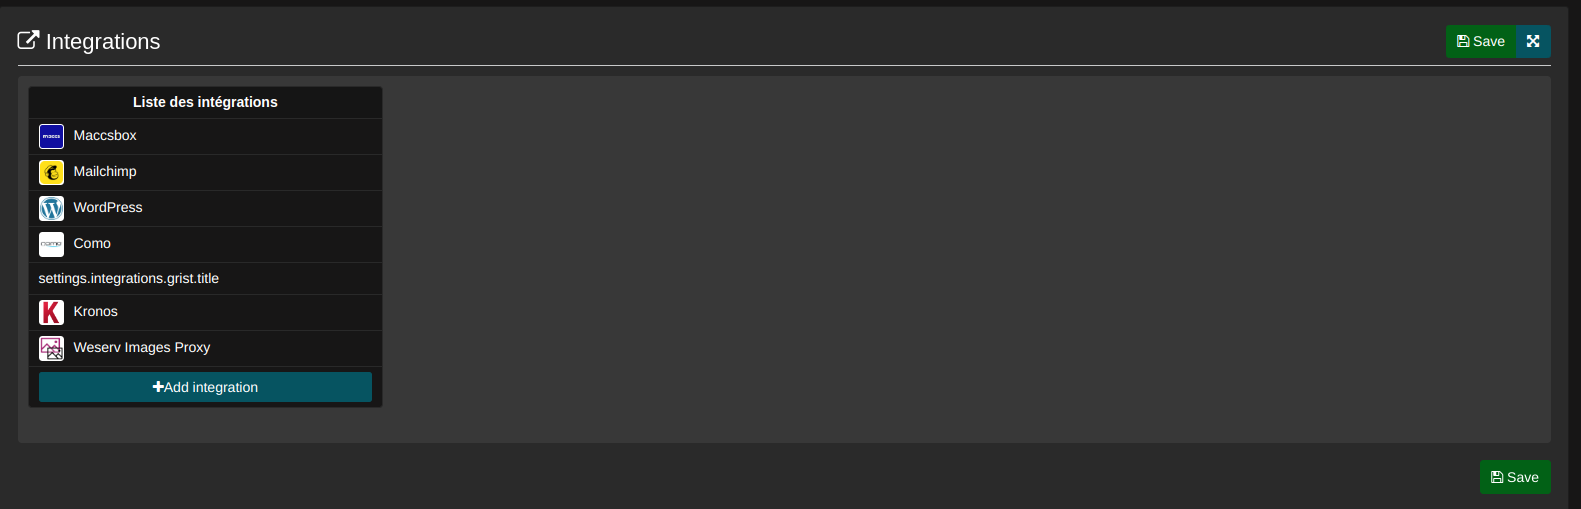
You can also add others by clicking on the blue button Add an integration. Then a list of integrations that you can add will be displayed, depending on your needs. Don’t forget to save your changes using the button at the bottom right.

Here is the list of integrations and the articles documenting them: