Introduction
Your Kronos management interface allows you to create or modify PDF templates that are used for home printing and on-site printing. In this article you will learn how to create or modify a template on your Ticketack instance and associate it with a ticket type.
1. Log in to your “Kronos” management interface on your device.
2. When you are on the Kronos dashboard, click on the Administration box in the top left corner of the screen.
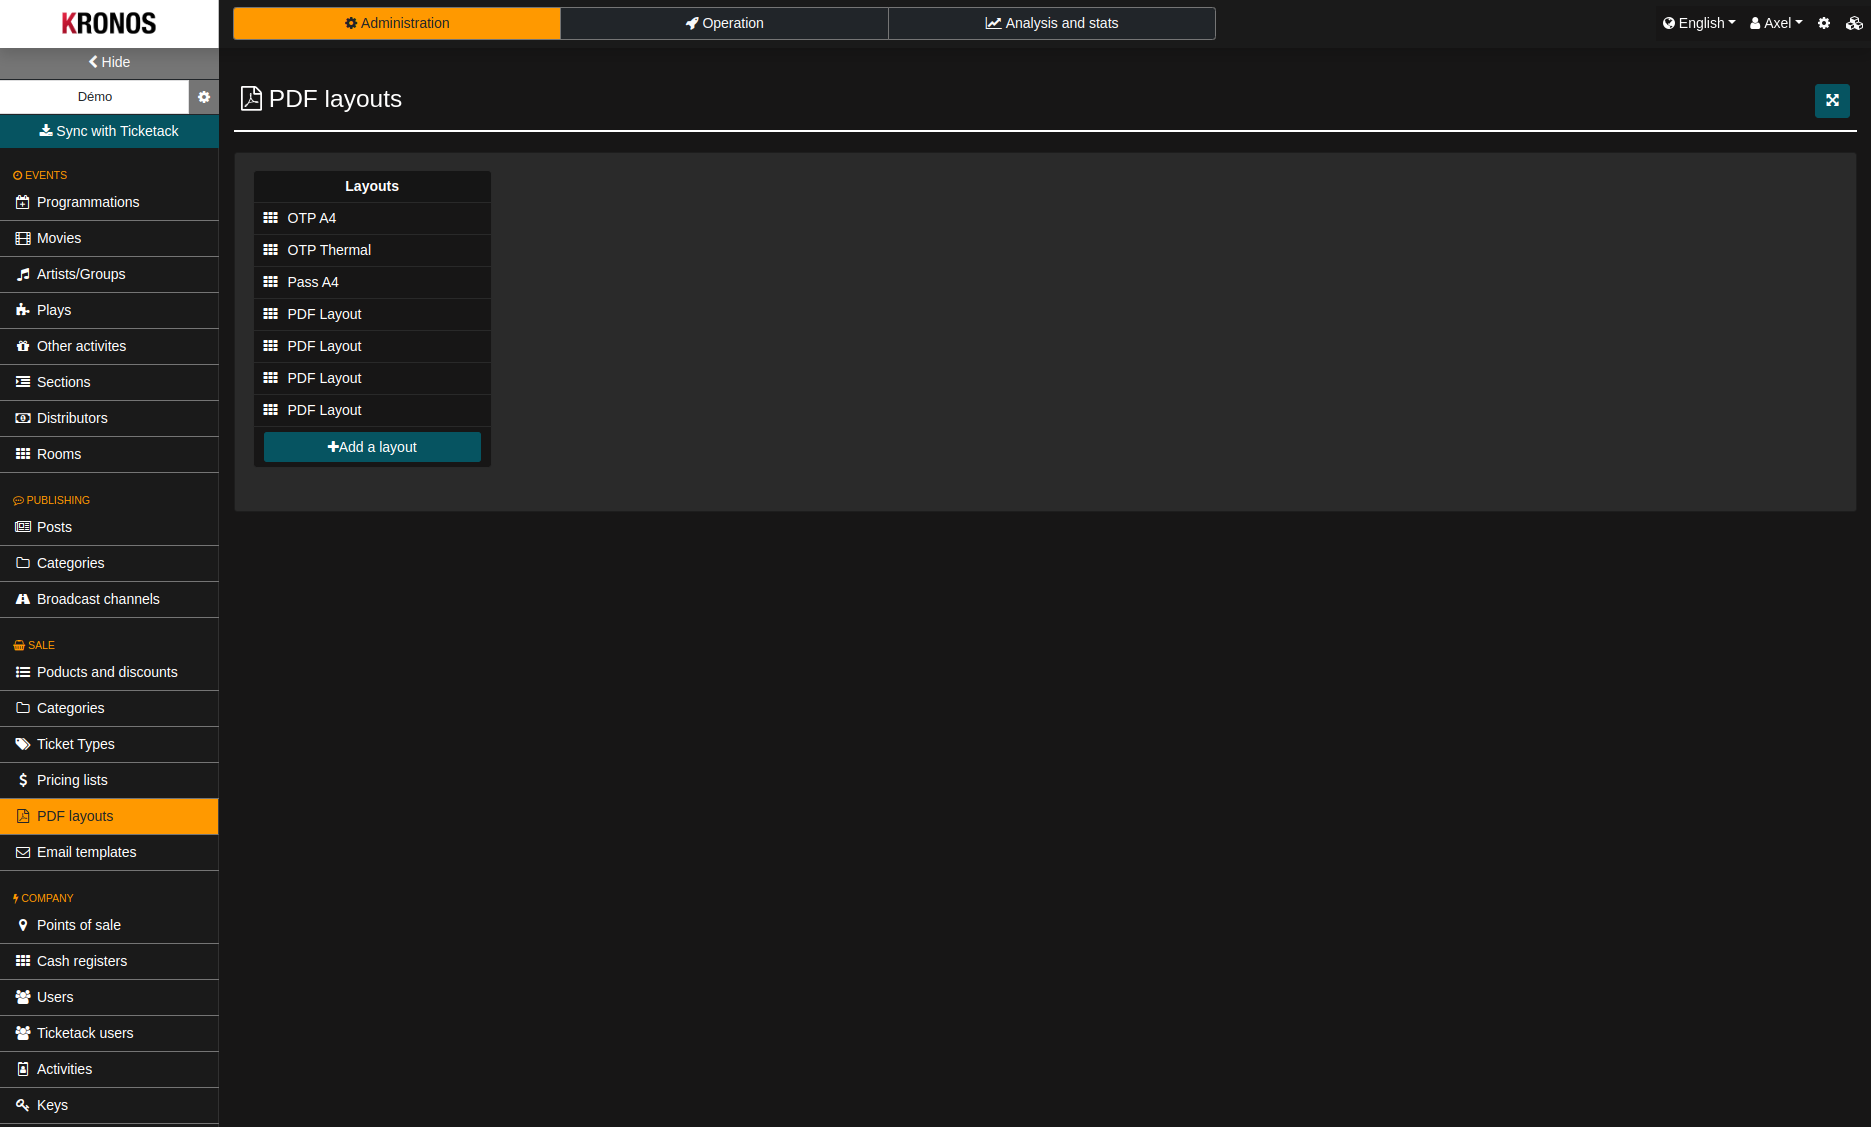
3. Next, in your toolbar on the left, further down in the Sales section, click on PDF Templates / Layouts. Finally, click on “Add a template,” the blue box, to create a template and access the various configuration options.
4. Make sure to save the templates you have created by clicking on the green “Save” button at the bottom left.
Creation/Modification of Template
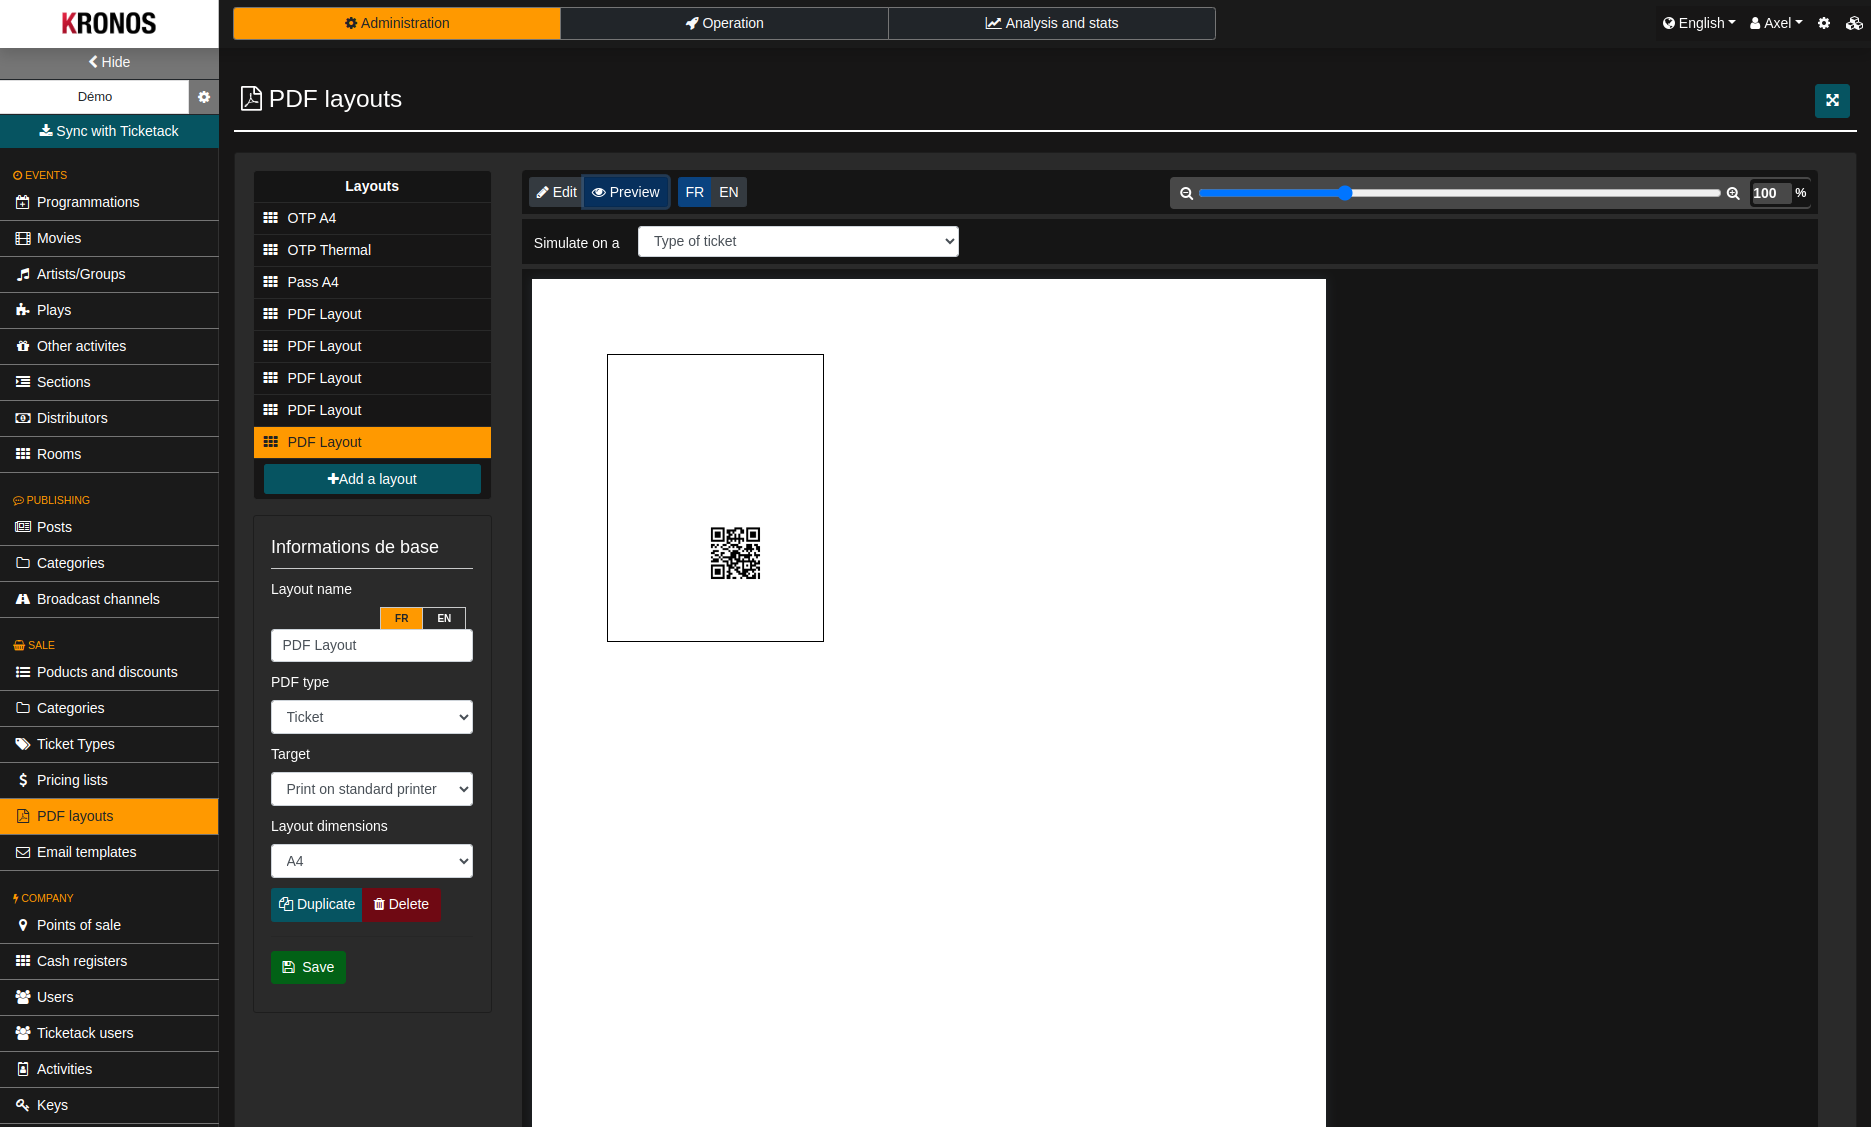
Background information :
This parameter allows you to give a name to your Template by customizing it
PDF type:
This setting allows you to choose the type of PDF you want to generate. You can choose from several options, such as: Documenting how to apply a template to a specific Rate, both for single session tickets and subscription rates.
- Ticket : to obtain a ticket
- Reservation Summary : To obtain a summary of your reservations
- Receipt : to obtain a proof of payment
- Cash closing : to obtain a cash closing report
- Addition : to obtain an invoice or a bill
- Order picking : To obtain an order preparation list.
Destination :
This setting allows you to choose your destination for printing, you have several options to choose from, such as :
- Printing on a standard printer :print on-line from home
- Printing on a thermal printer : Printing on a thermal printer
- Printing on a card printer : printing from a printer specialized in making cards
This parameter allows you to choose the format for your template. You can select from several formats, such as:
- A0 to A10
- B0 to B10
- C0 to C10
- Termal
- Thermal_Landscape : the landscape mode of Thermal
- A4_Landscape : the landscape mode of A4
- Custom : allows you to choose the dimensions of your choice.
Here is a comparison between the Thermal format and the A4 format:


Thermal format A4 format
Edit this widget :
To access the widgets, click on Edit at the top of your template.

Then, to the right of the template, the following window will appear.
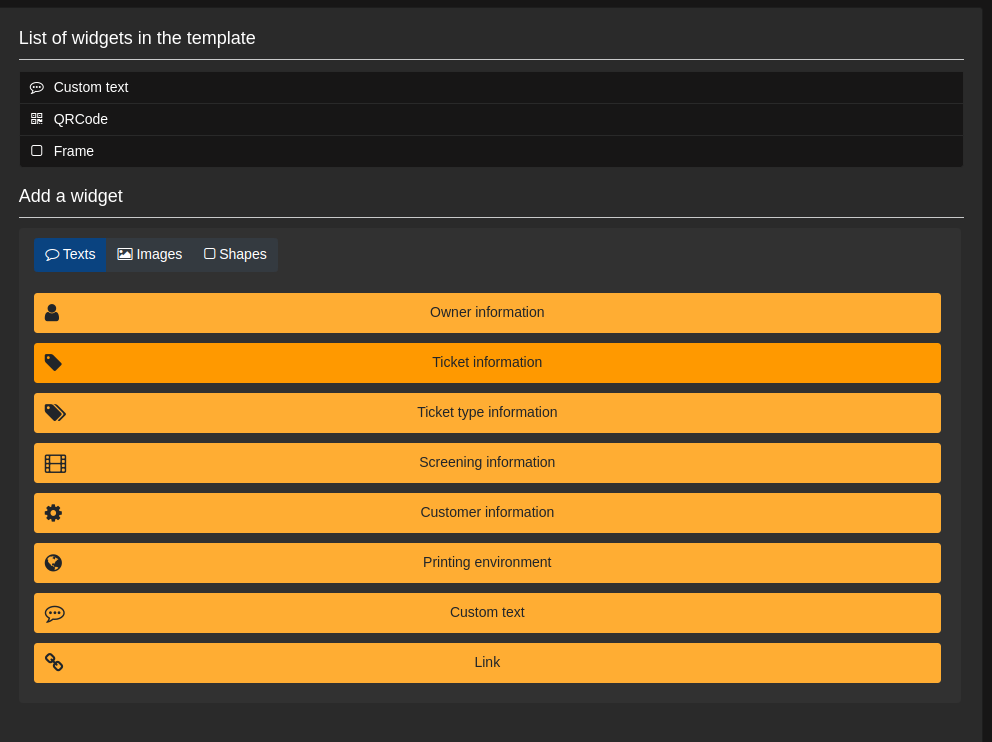
Texts
Holder Information :
This setting allows you to display several fields of holder information, you can select different options, such as :
- First name
- Name
- Full name
- Full name reversed
- Title
- Age
- Date of birth
- Type
- Phone
- Cell phone
- Language
- Street
- City
- Postal code
- Country
Ticket Information:
This parameter allows to display several information fields of the ticket, you can select different options, such as :
- TicketID
- TicketID (without the title)
- UUID
- Date of activation
- Name of the tariff
- Price
- Description of the tariff
- Valid from date
- End date of validity
- Start date – end date of validity
Ticket type information:
This parameter allows you to display two information fields of the ticket type, you have two types options to choose from, such as :
- Name
- Description
Session Information:
This setting allows you to display several information fields about the session. You can select different options, such as :
- Title
- Room
- Start date
- End date
- Start date – end date
Box Office Information:
This setting allows you to display several information fields on the ticket that are already integrated in the Kronos system, you can select different options, such as :
- Name
- Short name
- Address
- Phone
- TVA
Printing environment:
This setting allows you to display several information fields about the printout, you can select from the following options:
- Current User Name : Displays the name of the user currently logged in.
- Point of Sale :Displays the location or point of sale where the page is printed.
- Print date : displays the date and time the page was printed.
Customized text :
This setting allows you to add custom text in a hard way.
Link :
This parameter allows you to add a custom link in a hard way
Images
Library image:
This setting allows you to choose the type of image and resize it according to your preferences, you can select from the following options:
- Image type :
- Logo
- iĉone
- Favicon
- Resize :
- Parent size : the photo will be resized to fit the size of the frame in which it is displayed.
- Cover the parent : the photo will be enlarged to fill the frame completely, possibly cutting out part of the image.
- Content in the parent : the photo will be resized to fit the frame, displaying the whole image without cutting it
Custom image :
This parameter allows you to select an image from your device, which is not already present in the Krnons system.
Photo holder:
This setting allows you to choose how the photos will be displayed on your layout, you can select different options to change the photo size, such as :
- Parent size : the photo will be resized to fit the size of the frame in which it is displayed.
- Cover the parent : the photo will be enlarged to fill the frame completely, possibly cutting out part of the image.
- Content in the parent : the photo will be resized to fit the frame, displaying the whole image without cutting it
QRCode :
This setting allows you to add a QRCode to your layouts that you have created. This code can be scanned with a device to quickly access information.
Forms
Setting :
This parameter allows you to add shape to your layout.
Line :
This parameter allows you to add a line on your layout.
Applying a Template to a Ticket Type
1. Access to the “Administration” category and click on it.

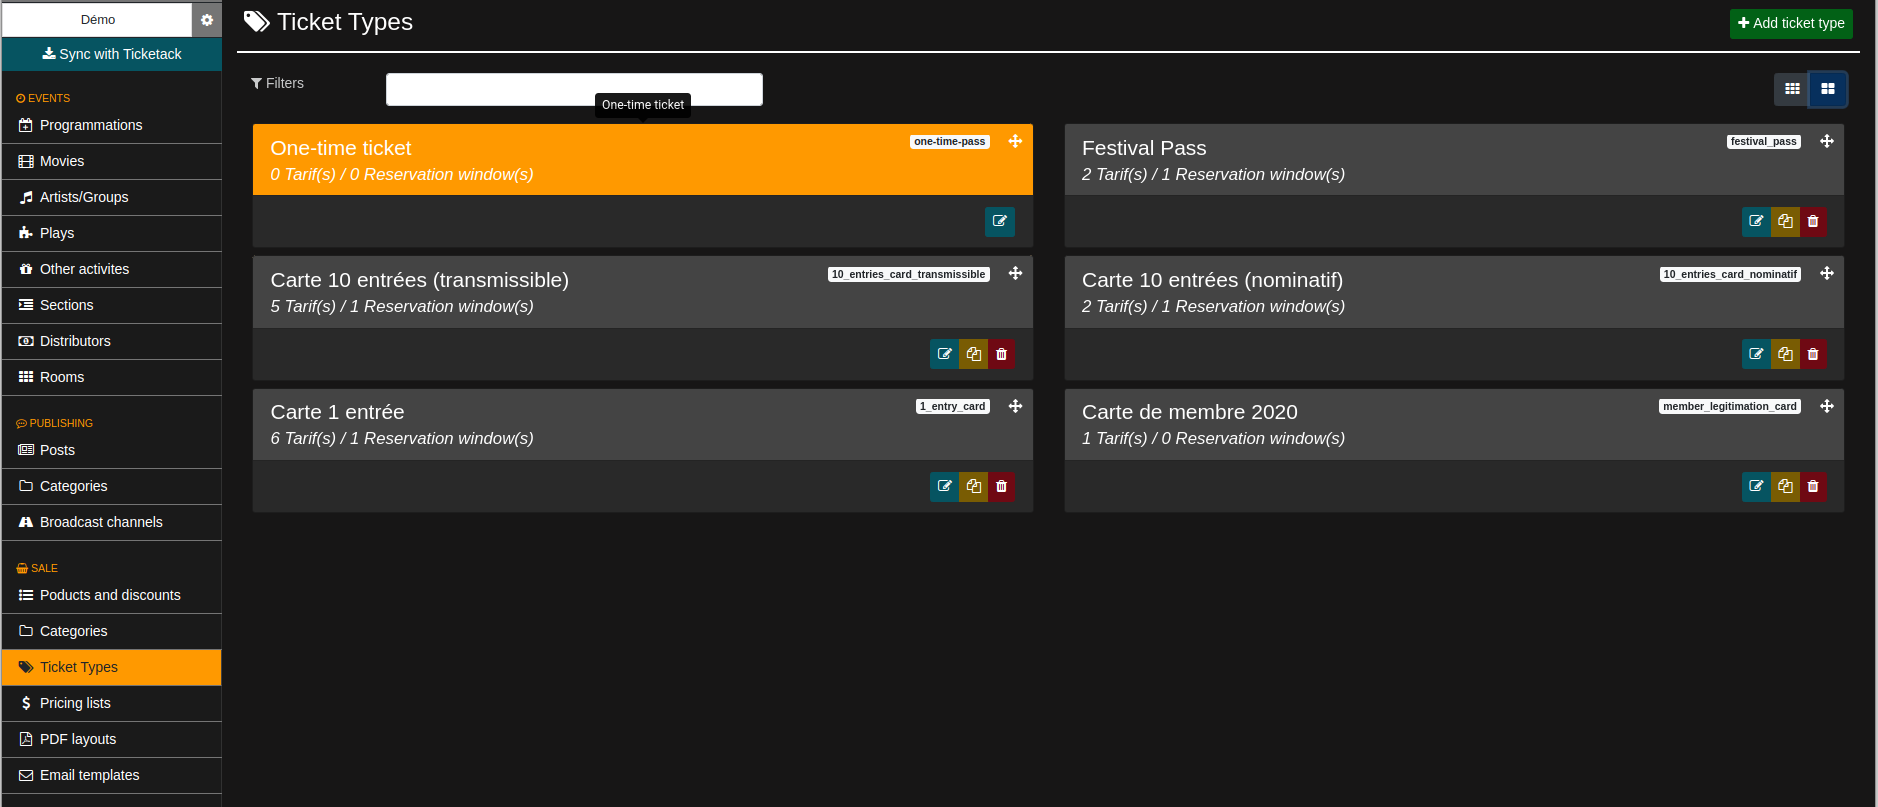
2. On the left side of the screen, locate the “Sales” section, then click on the category titled “Ticket Types”.
3. Select one of the ticket types you have created, then go to the “PDF Template” option and choose the templates you want to use for printing. In the dropdown list “Choose a Rate”, you can choose to apply the template to the ticket type in general, which will affect all sub-types, or apply the template to a specific rate, such as the Reduced Rate (-8 CHF), for example. The procedure is the same for subscriptions and other types of tickets.
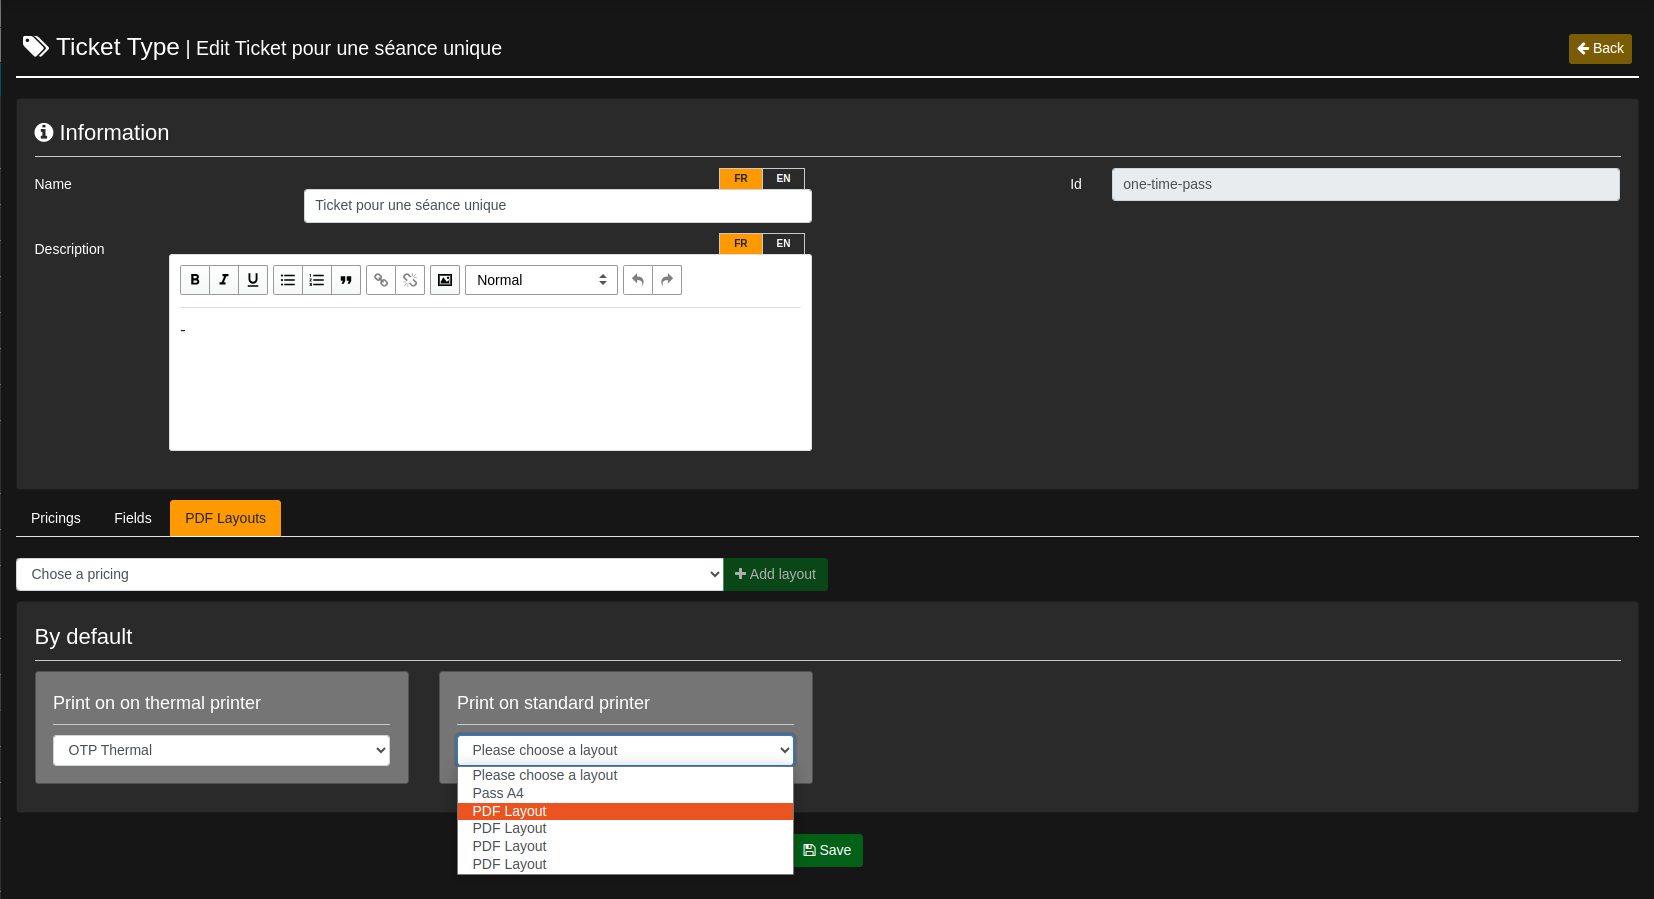

4. Be sure to save the PDF templates you have selected by clicking on the “Save” button in the middle.

For detailed information on how to associate a template with a ticket type, you can refer to the pqge. Ticket Type Management