Access your email template management interface
From your Kronos interface, you can manage and edit your email templates.
To access the interface, click on “Administration” in the top toolbar, then in the Sales section of the left toolbar, click on “Email Templates”.
Once on this interface, you’ll see the list of your previously created templates. You can edit them by clicking on any of them. Underneath this list, you can see the blue box labeled “Add a template”. By clicking on it, you have the possibility to create a new one. For the demonstration, we will create the email template “Test”.
Edit or create your email templates
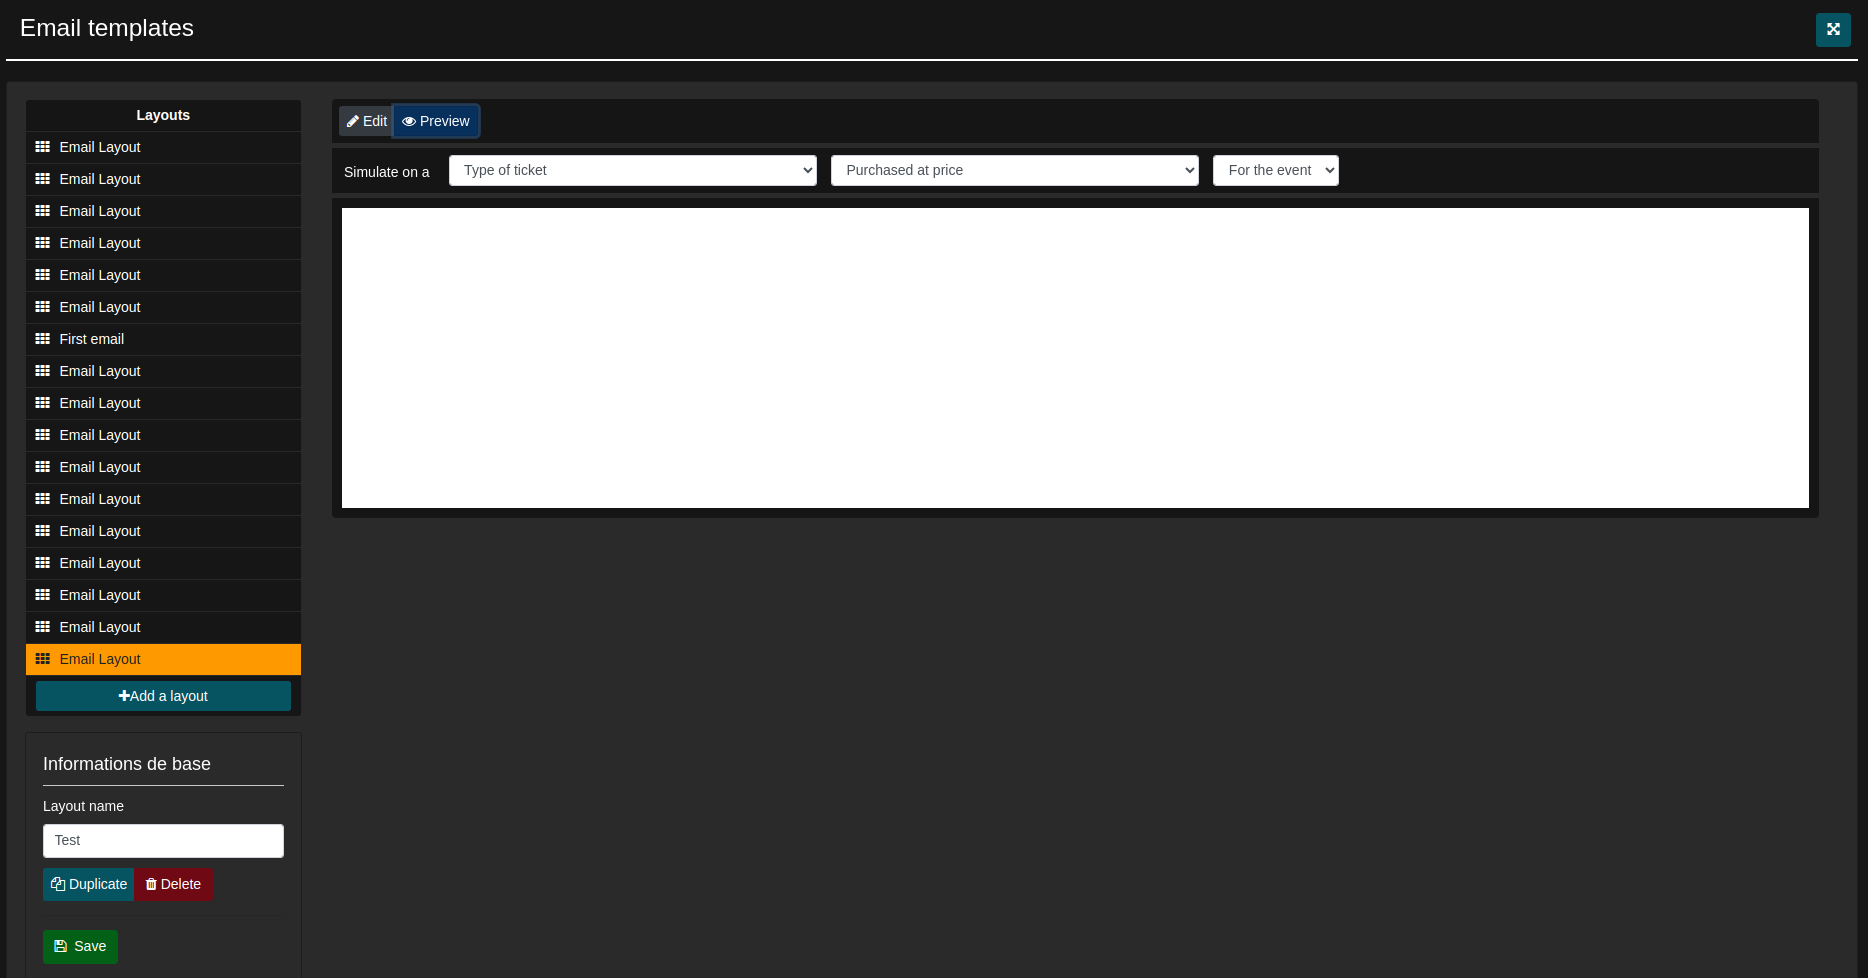
To the left of the template, you have the “Basic Information” section, where you can give your template a name, duplicate it (create a copy), delete it, and most importantly, save it using the green button.
For email editing, you have two interfaces: Preview and Edit. You can access them via the two buttons above your template. Here, in the image below, we are in the preview interface. In this interface, you can simulate your email on a type of ticket, a rate, or even an event.
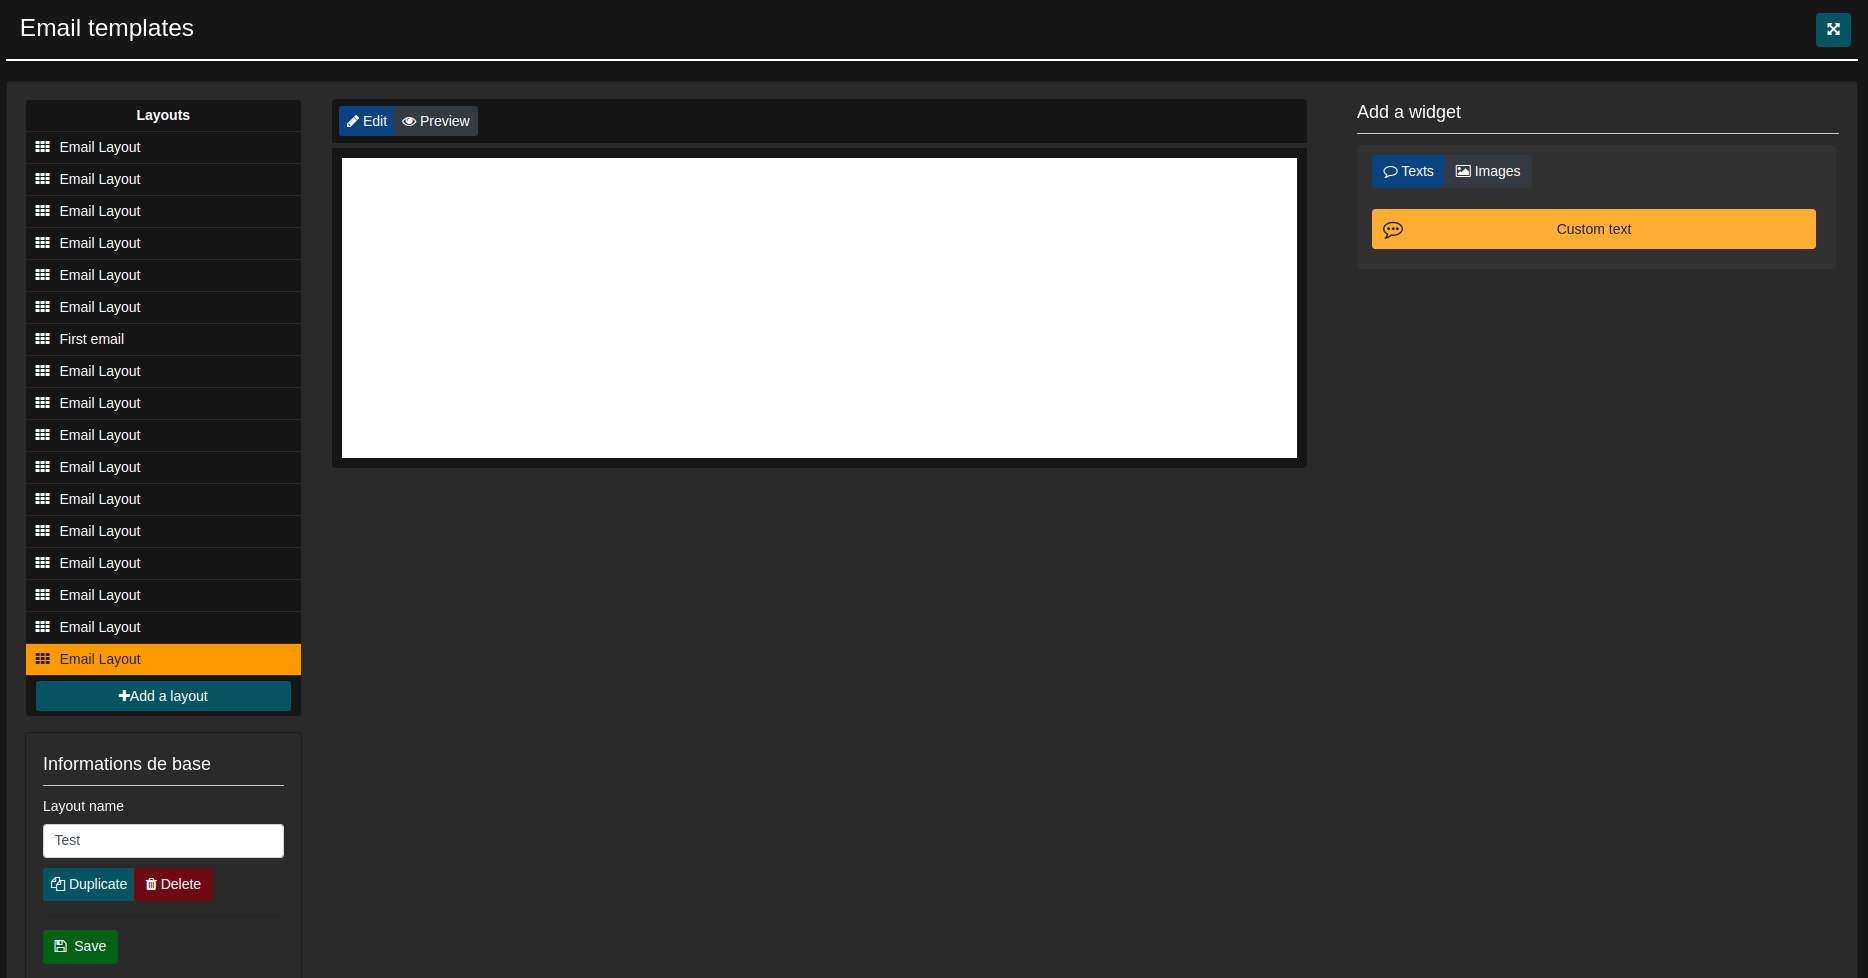
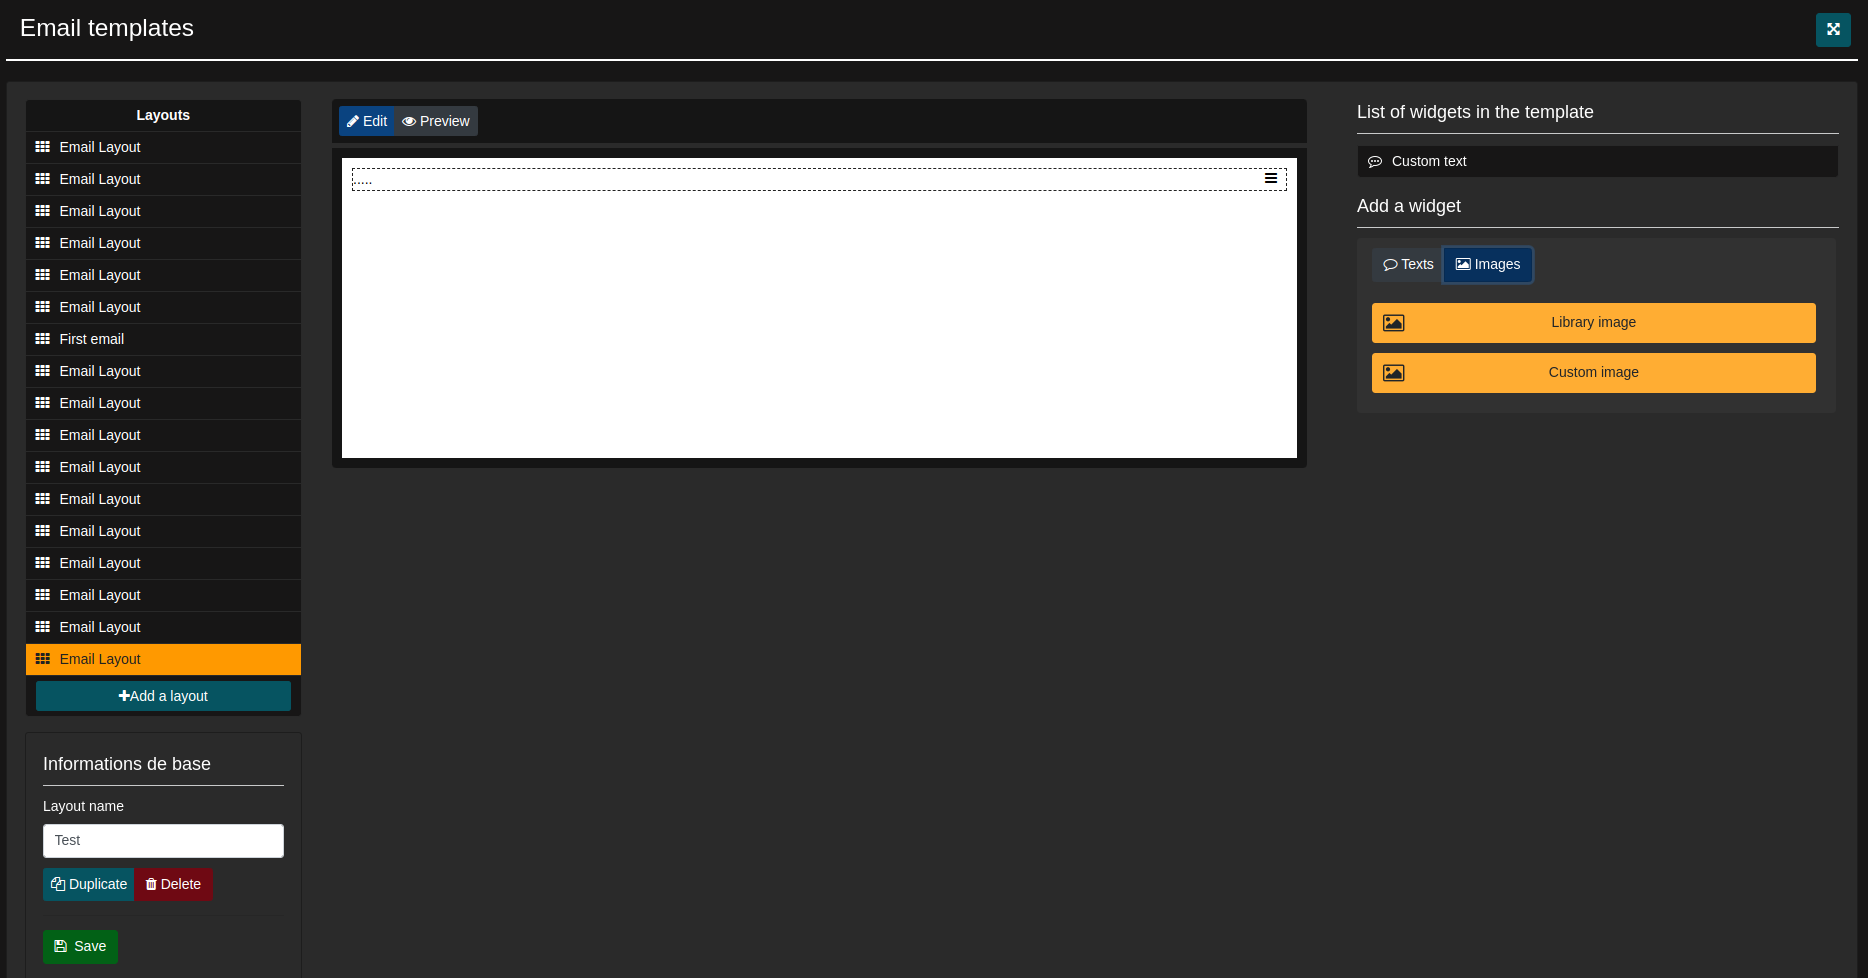
Below, you have the Editing interface. This is where you will be able to customize your email. To the right of the template, you have access to widgets, which are the elements you can modify/add in your email. There are two types of widgets: Text and Images. Here, the text type is selected. By clicking on “Custom Text”, the orange box, you can add a text block to your email template.
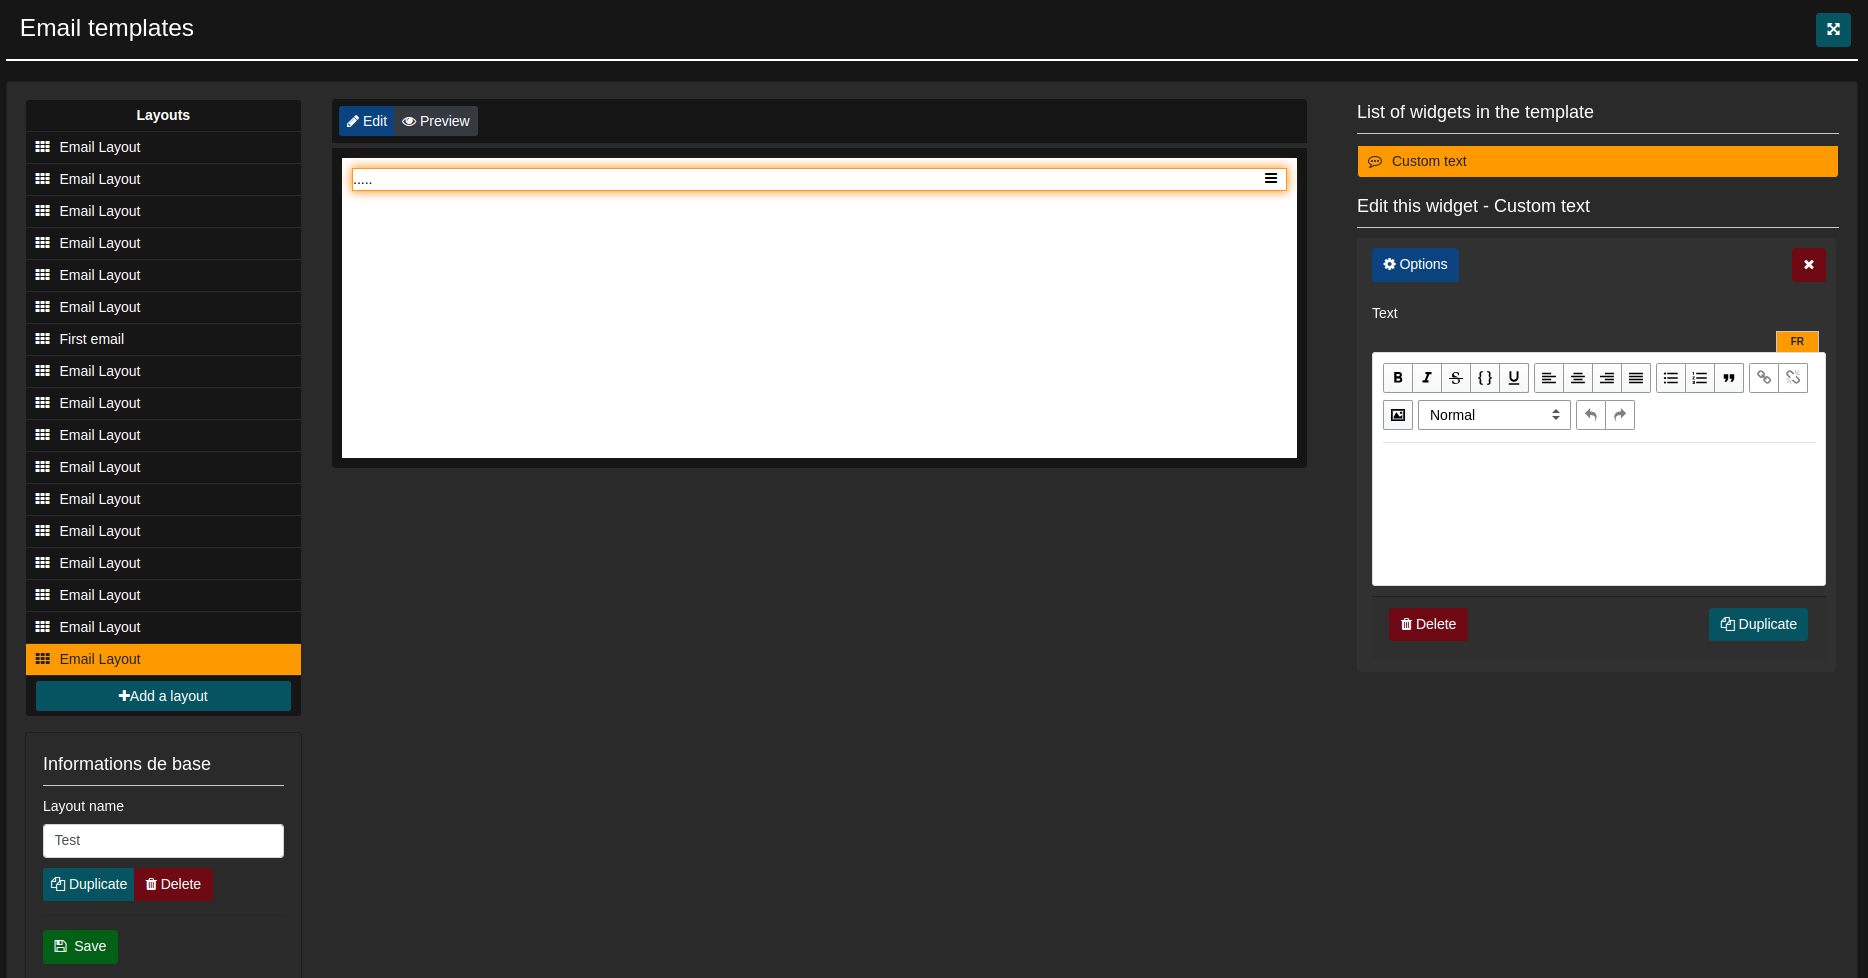
Once the widget is added, you will see it appear in the “List of widgets in the template”. By clicking on this widget in the list, you can modify it in the dedicated text editing area. You can also delete the widget using the “delete” box in red to your right, or duplicate it using the blue box. Note that the widget is associated with a block in the template; here, the block is highlighted in orange. In the orange block, you can see three small bars appearing to the right of the block. By holding down on them, you can move the block only vertically. To deselect the widget, press the small red cross next to the blue option box.
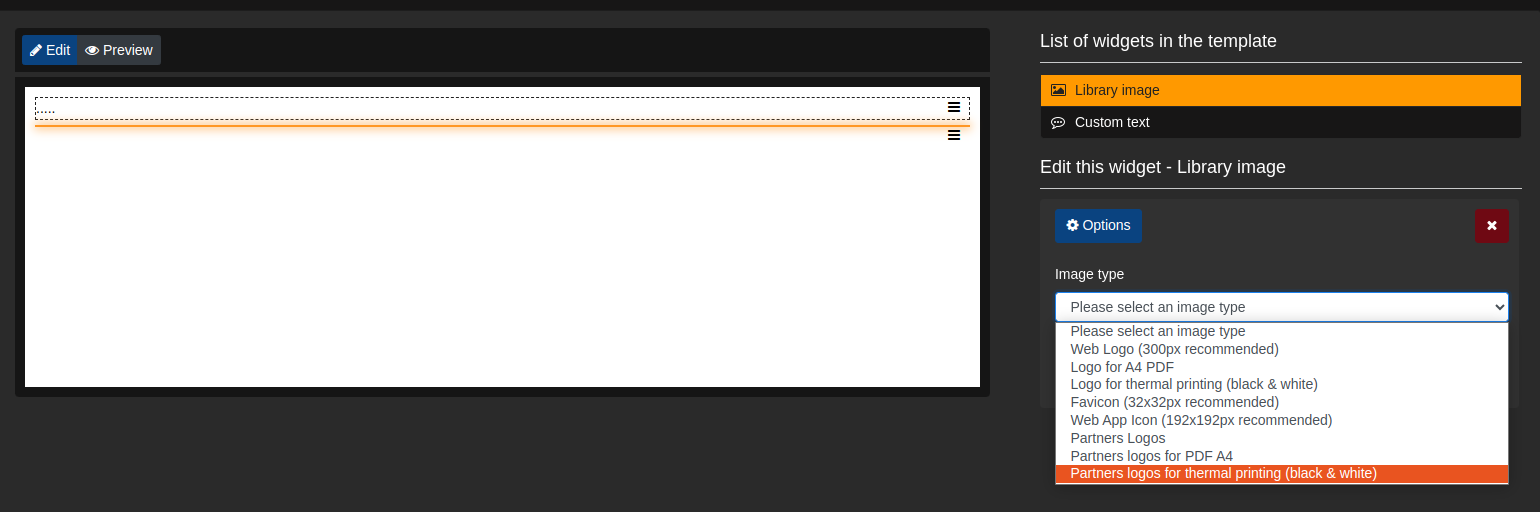
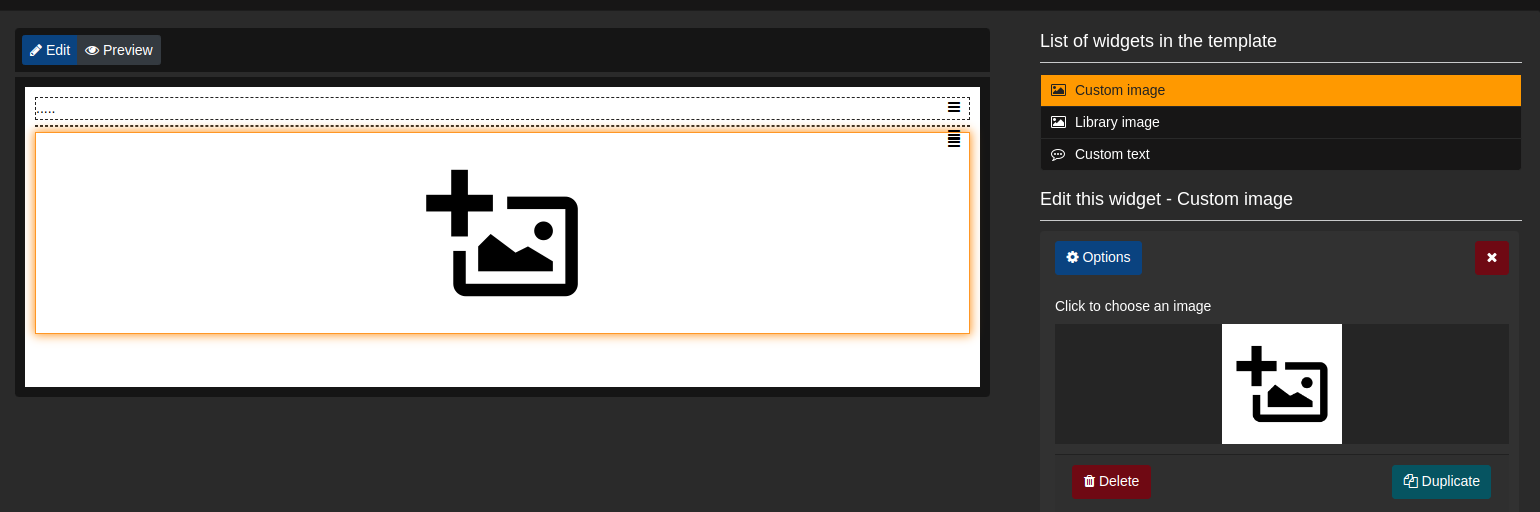
In the “Add Widget” section, you can add an image type. You have two choices: either “Library Image” or “Custom Image”.
For “Library Image,” from your image bank, you can insert a pre-saved image. To access this image bank, refer to this article.
For “Custom Image,” you can simply click on the image logo to the right to upload an image from your computer.
Limitations
Remember that you can add a maximum of three widgets, regardless of their type: it can be three text widgets, three image widgets, or a mix of both.