To configure a scanner, you must first be connected to your ticketing system.
In the menu at the top left, click on Management, then on Devices as shown below:
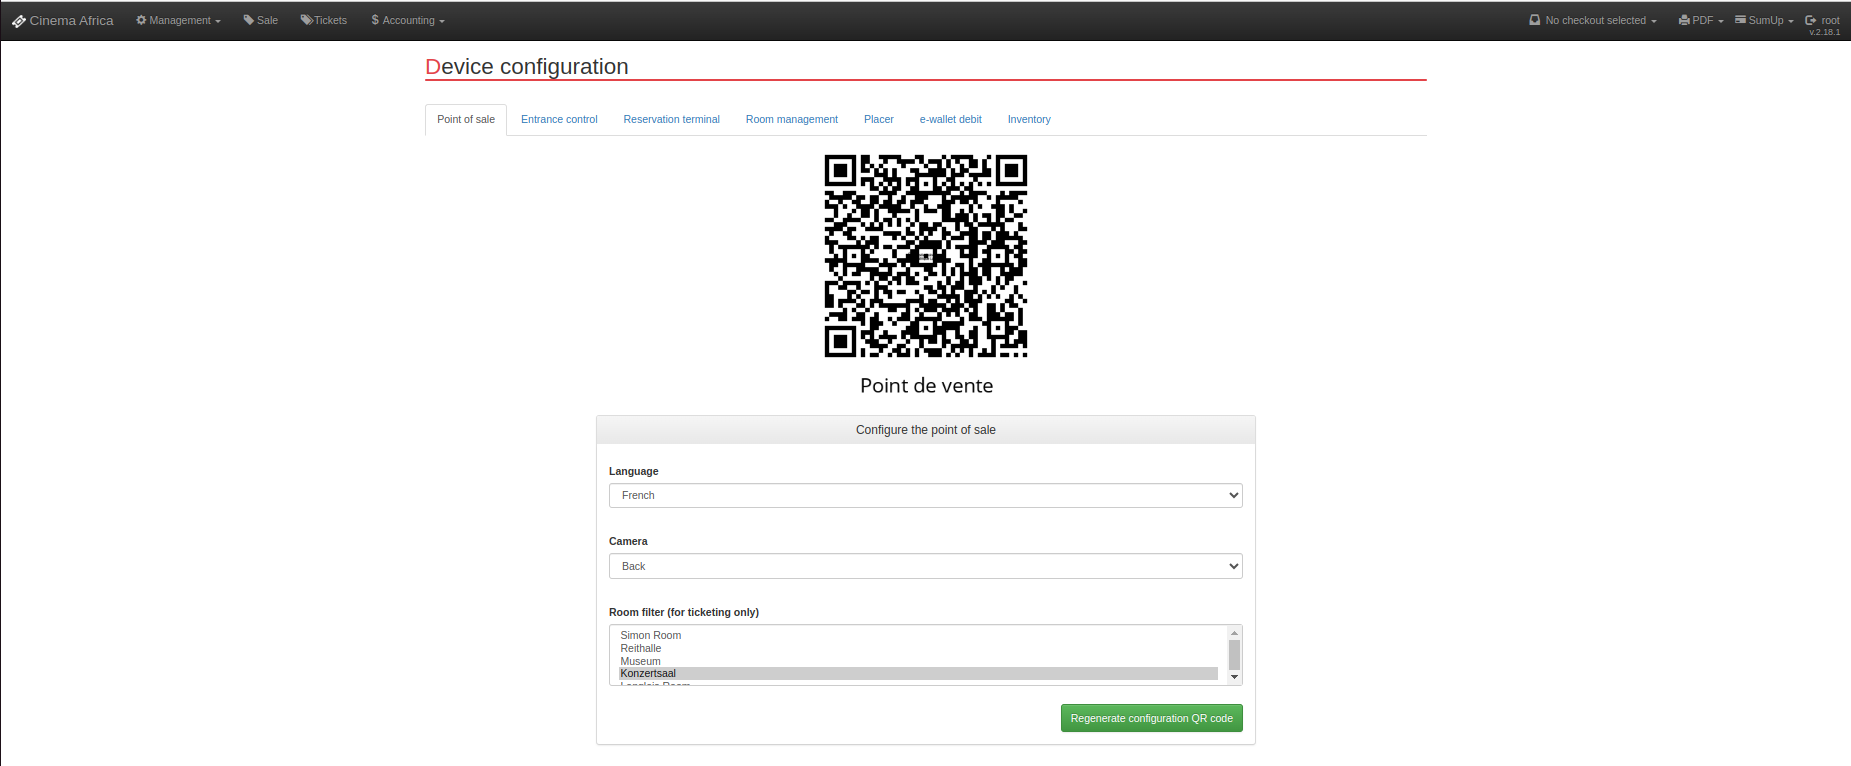
On the next screen, you will need to select the mode in which you want to configure the scanner: Point of Sale, Entry Control, Reservation Kiosk, Usher, E-Wallet, Inventory.
When you click on the tab of the chosen mode, the QR code is regenerated. You just need to scan it with the device you are configuring. Make sure you see the message : new configuration saved.
However, make sure to select the rooms for which the scanner should be able to scan tickets or other items (you can choose multiple rooms).
From an iPad: simply select the desired rooms.
From a PC: hold the ctrl key to select multiple halls.
Then, regenerate the QR code by clicking on the green button.
You can define other settings based on the chosen scan mode: language used, camera (front or back), and many more.
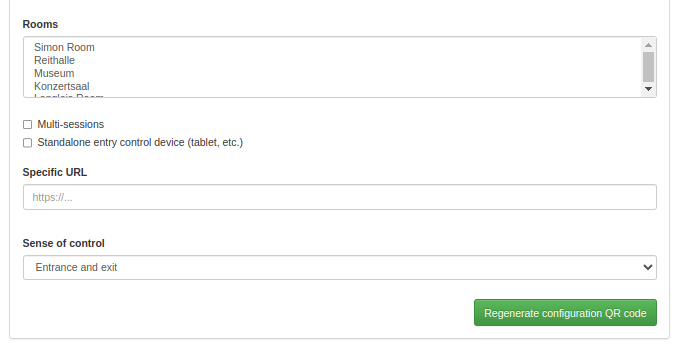
For the Entry Control mode (illustration below), you can define specific parameters: insert a specific URL, define the direction of ticket control (entry, exit, or both), enable multi-session option to manage multiple sessions simultaneously, or choose the standalone entry control device option (where the customer scans their own ticket).
Always remember, once your configuration is complete, to click on the green “Regenerate QR Configuration Code” button.
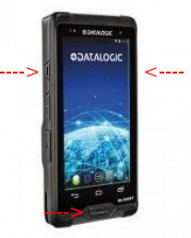
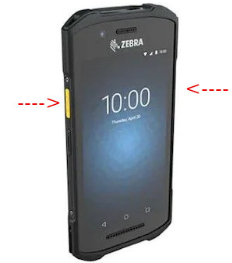
To finish, all you need to do is scan the QR code using the scanner with the designated button.
The message “New configuration saved” should appear: Your scanner is configured in the chosen mode and for the selected rooms.


