
Introduction
Our ticketing service offers integration with Mailchimp, which allows users to easily sign up for a mailing list to receive newsletters or participate in surveys. This feature improves your communication with your customers by simplifying the subscription process. The steps outlined below explain how to configure the integration to display a checkbox during the check-out process. The configuration for surveys follows an identical approach.
Guide to displaying the newsletter or survey subscription box in the check-out
- Create an API key in Mailchimp
- Log in to your Mailchimp account.
- Click on your profile picture, then select Profile.
- In the top menu, go to Extras > API keys.
- Under the section Your API keys, click on the button Create an API Key.
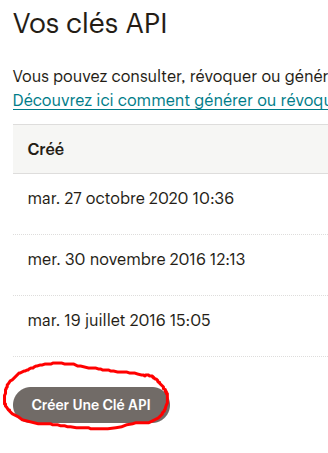
- Give your API key a name, then generate it.
- Important : Write down or copy your API key in a secure location so you can easily find it.
- Configure integration in Kronos
- Log in to your space Kronos.
- Go to Administration, then in the left side panel, at the very bottom, select Settings > Integrations.
- Click on Add an integration, then choose Mailchimp.
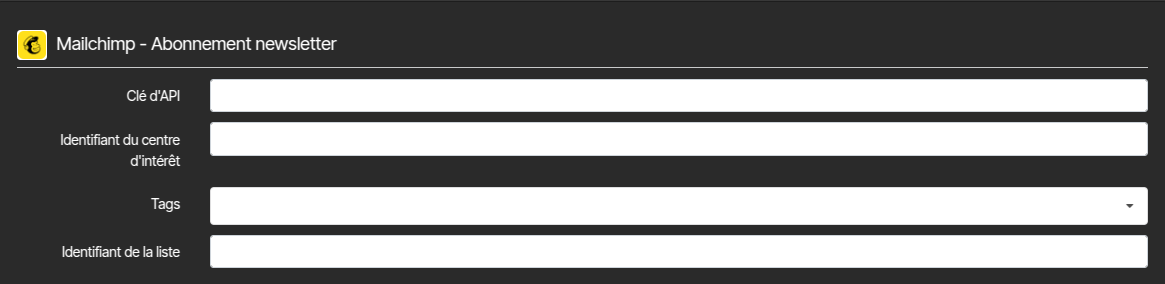
- A configuration page is displayed. Complete it as follows:
- Paste the previously copied API key.
- Retrieve your list ID from Mailchimp (follow this guide: How to find your list ID).
- If necessary, add tags to segment your subscribers according to specific categories.
- Activate newsletter or survey subscription
- Still in Kronos settings, go to the tab Online sale.
- In the section Newsletter subscription, respectively survey select Mailchimp in the drop-down list of available modes.


